Setting Hideez Server parameters
Hideez Enterprise Server – Setting HES Server parameters
To work correctly, you need to specify some basic settings.
Go to Settings → Parameters.

Application
Domain name setup
The domain is used in email, FIDO2 authorization processes, and SAML and OIDC protocols. In addition, the domain is used when checking the product license.

Mail
Administrators can configure credentials to send service email messages to users. These messages are used to invite new employees, reset employee passwords, change employee email addresses, send activation codes for Hideez Key, and more. To check the current credentials you are using to send emails, you need to expand the Mail section:

To set Email Credentials, fill in the following fields:
Host – this is the email server address you want to connect to. For example, for Gmail, the SMTP host might be “smtp.gmail.com” and the IMAP host might be “imap.gmail.com”. The actual host may vary depending on the email service provider and the specific protocol you are using.
Port – this is the numeric code that determines the specific network port for establishing a connection to the email server using a specific email protocol.
Enable SSL – this is an option that indicates whether to use SSL (Secure Socket Layer) to establish a secure connection with the email server. SSL encrypts the data transmitted between your computer and the server to protect sensitive information during transmission.
Email – is the email address that you use for sending and receiving messages.
Password – this is the password associated with your email address. It is used for authentication and confirming your identity when connecting to the server.
The configured mail may look like this:

Licensing
Click the button Import License

Import the file license that you download from the Hideez Portal. Or you can ask us, and we will generate a license for you.
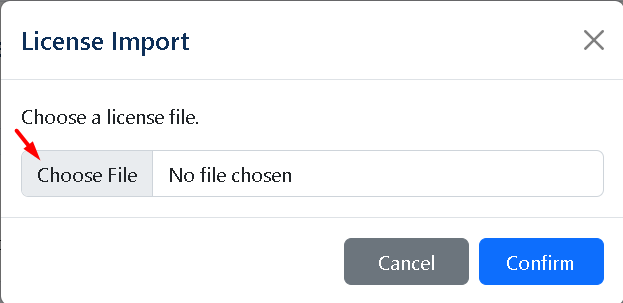
Import the file license that you download from the Hideez Portal. Or you can ask us, and we will generate a license for you.
Active Directory (On-premises)
To enable integration between Hideez Server and on-premises Active Directory via Microsoft Entra ID, including user synchronization and password management, refer to the following guide:
The following parameters must be configured if Hideez Server will be used in Active Directory integration scenarios:
Import and synchronize users from on-premises Active Directory with domain password rotation
Microsoft Entra ID
For details on integrating Hideez Server with Microsoft Entra ID, including user synchronization and password management setup, please refer to the instruction:
Other Domain settings
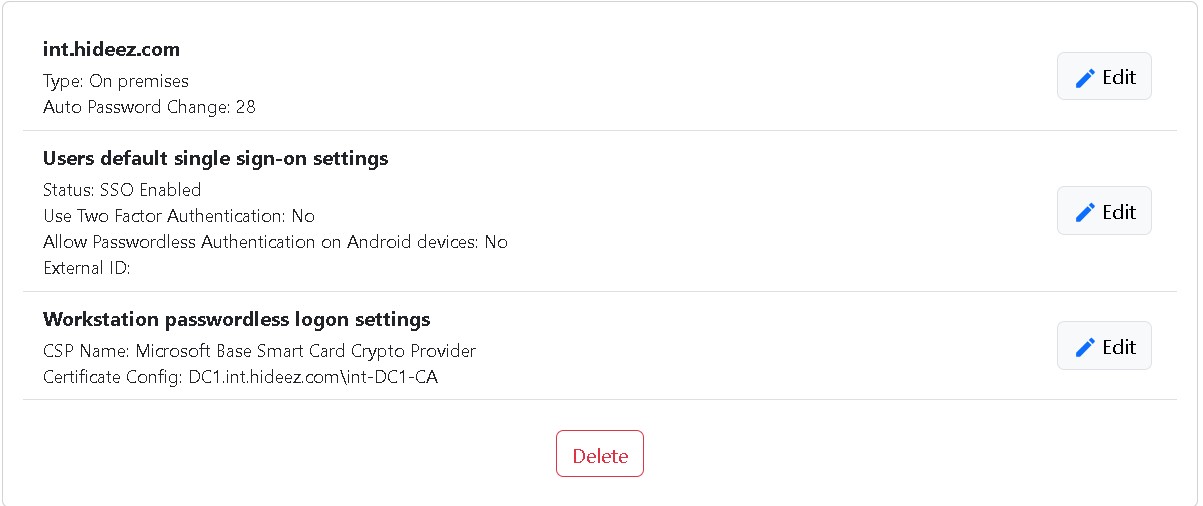
Domain Settings – These credentials will be used to connect to Active Directory via LDAPS
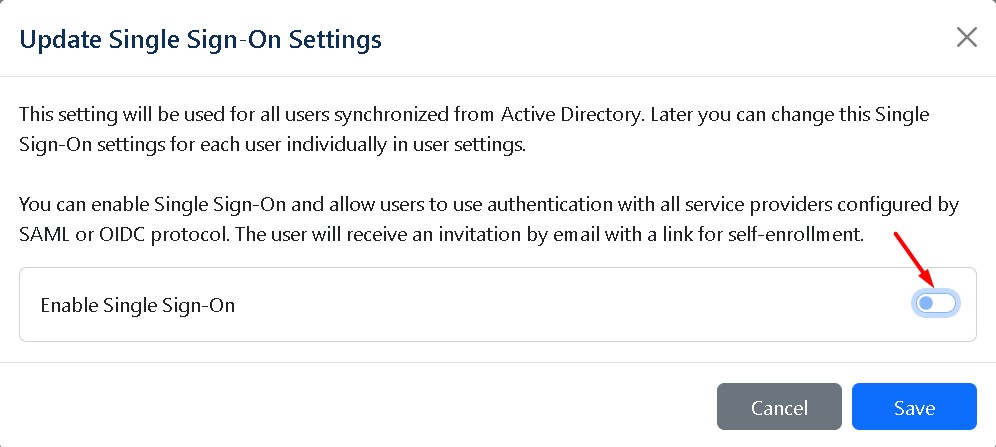
Users default single sign-on settings - This setting will be used for all users synchronized from Active Directory. Later you can change this Single Sign-On setting for each user individually in user settings.
Workstation passwordless logon settings - Update Workstation Passwordless Logon Settings.
Splunk
Splunk is a platform for collecting, analyzing, and visualizing machine data in real-time. It helps organizations monitor systems, detect threats, and troubleshoot issues by processing logs and other data sources.

FIDO2
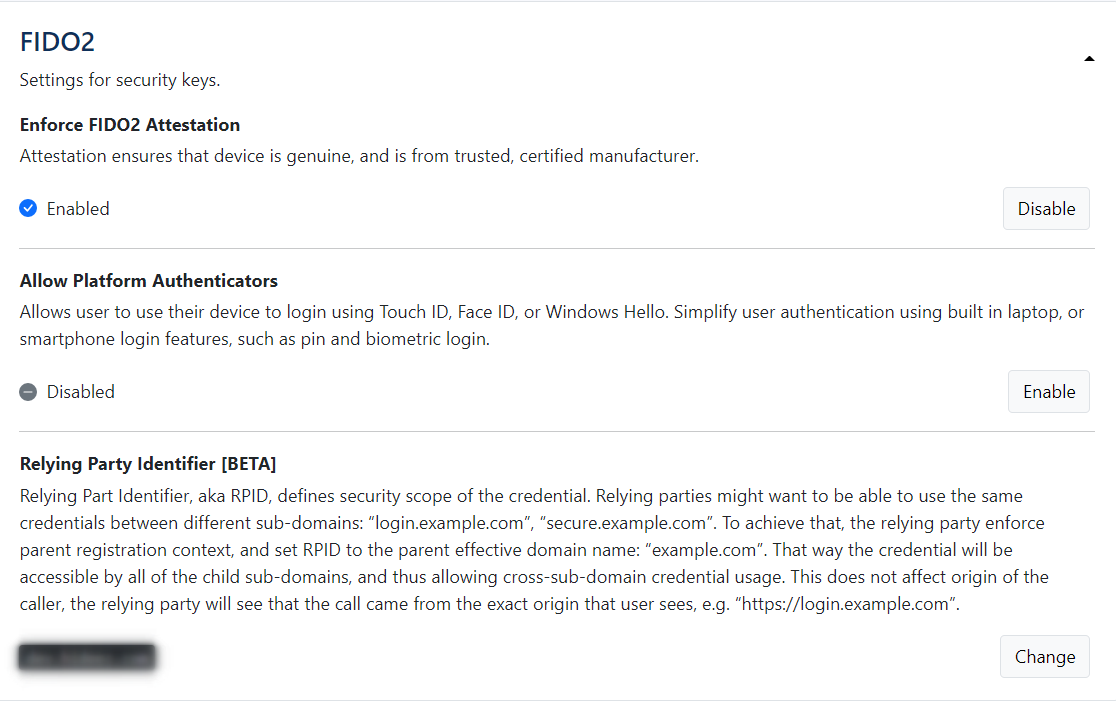
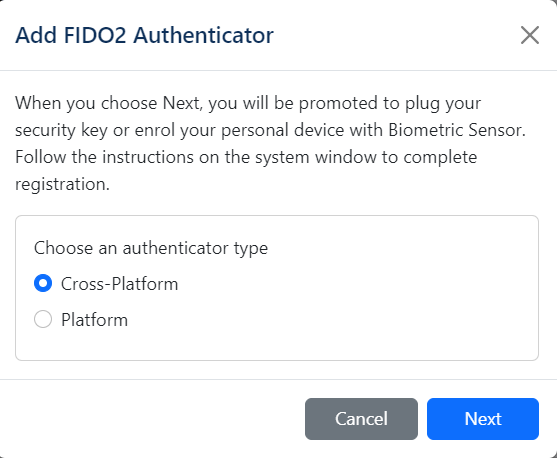
If the "Allow Platform Authenticators" feature is enabled, you can choose the type of security key you are enrolling for the user (by default it is cross-platform):
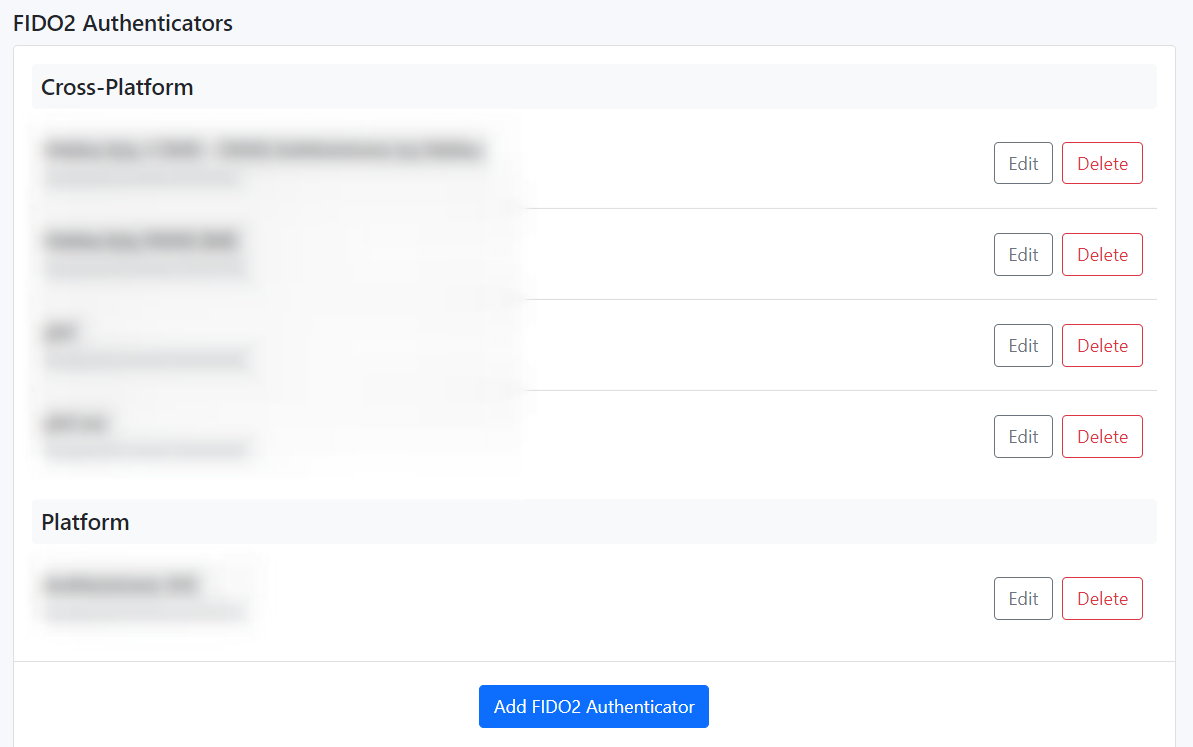
So the list of the user's FIDO keys will look like this:
SAML
More about SAML configuration you can read here.
OIDC
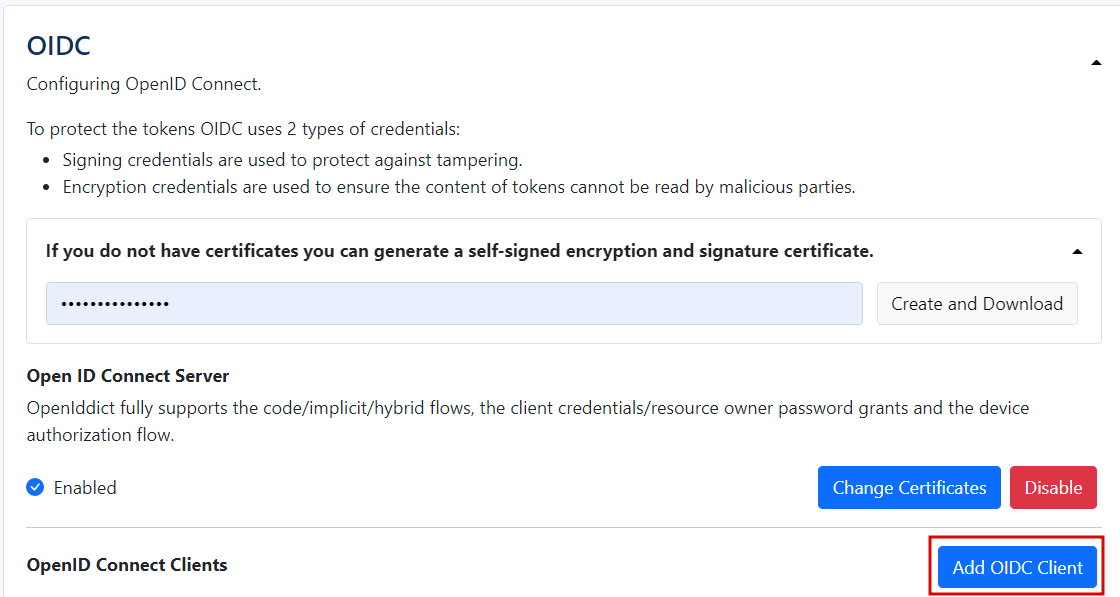
The Openid connect clients (OIDC) parameters can be set at the OIDC section.
Appearance
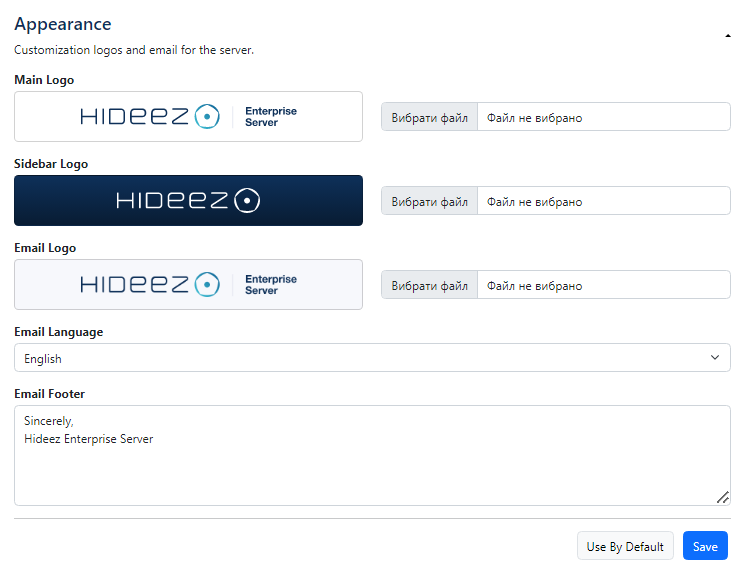
In this section, you can customize logos and email for the server.
Last updated