Authorization on the HES server via a FIDO key
Hideez Enterprise Server – Authorization via FIDO key
On the Hideez Enterprise Server, both administrators and users can authenticate using the following options:
Password-based login with hardware Hideez Keys as a second Factor (FIDO U2F).
Passwordless login with hardware Hideez Keys (FIDO/WebAuthn).
Password-based login with hardware security keys by other vendors as a second Factor (FIDO U2F).
Login with the Hideez Authenticator mobile app (Biometric passwordless login/two-factor authentication) – available on Android and iOS.
Platform authentication using Windows, macOS, iOS, or Android.
You can configure FIDO key authentication on HES, using either an external FIDO key or a platform security key. Additionally, FIDO2 attestation can be enabled to ensure the device's authenticity and disable platform keys if necessary.
Platform keys allow users to authenticate using built-in device features like Touch ID, Face ID, or Windows Hello for easier logins.
Step 1. Adding a key
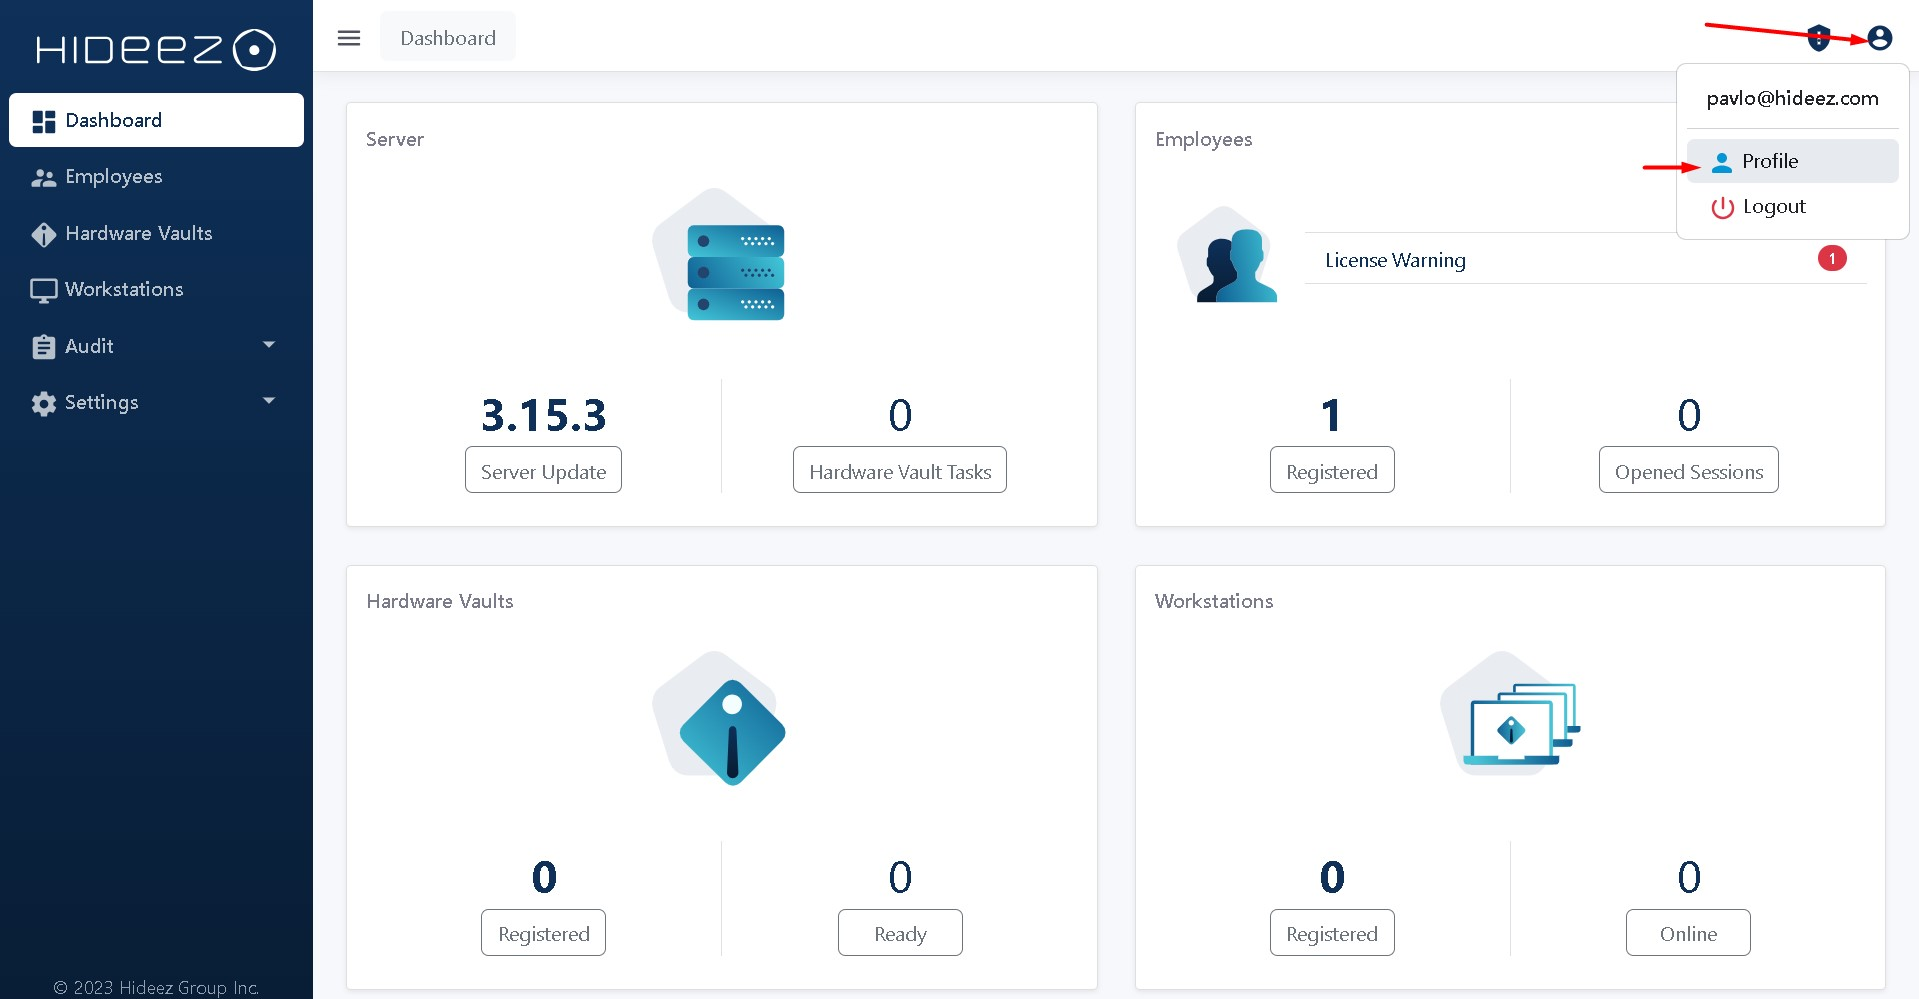
In the upper-right corner of the window, click the profile icon and select Profile from the drop-down list.
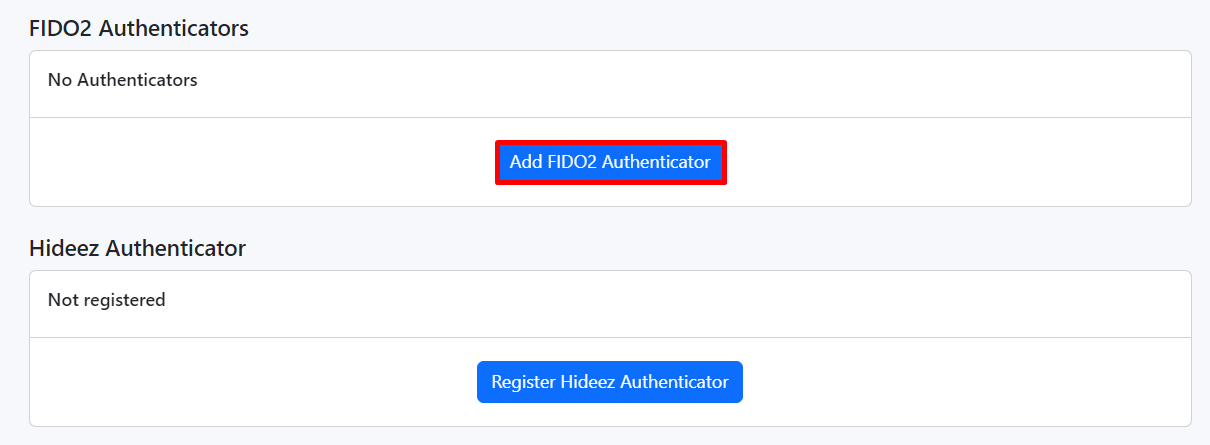
Go to the Security Keys section and click Add FIDO2 Authenticator.
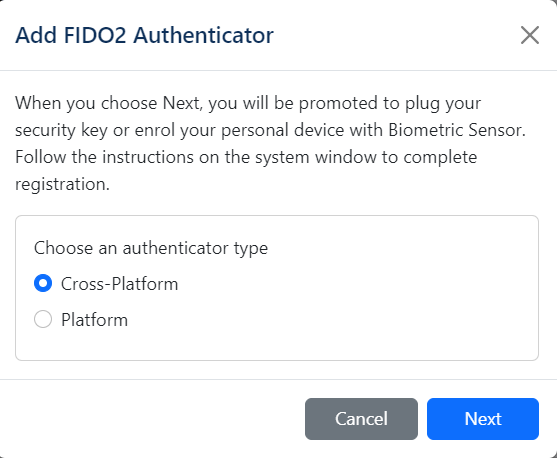
Choose the type of key and click Next.
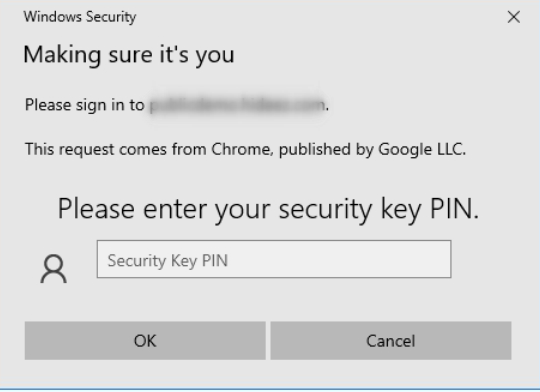
Follow the on-screen instructions for your FIDO key:
For Hideez Keys, refer to the specific guide.
For platform security keys, follow the relevant instructions.
You can add multiple keys if needed.
Step 2. Authorization via the FIDO key.
Passwordless Login
If your key was registered without the "Use Passwordless" option:
Enter your email address.

Select the Sign in with a security key option.
Follow the on-screen instructions:
Insert your FIDO key.

Enter your PIN code.
When the green LED flashes, press the button on the key.
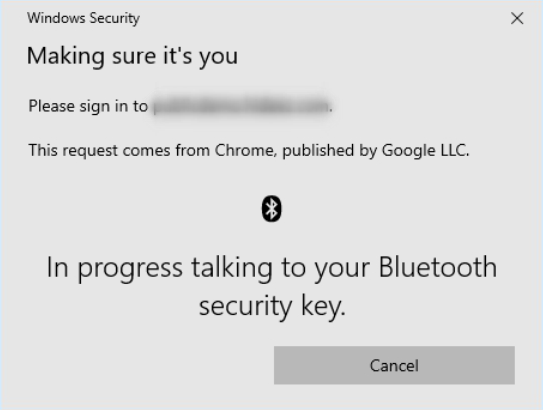
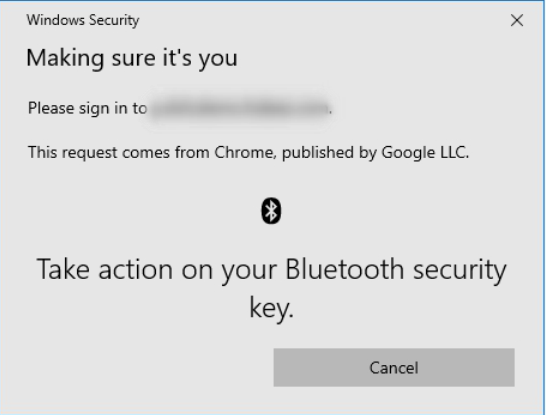
You will then be authorized on the HES server.
User nameless Login
If your key was registered with the "Use User nameless" option:
Select the Sign in with a security key option.

Follow the on-screen instructions:
Insert your FIDO key.

Enter your PIN code.

When the green LED flashes, press the button on the key.


Step 3: Managing Your Keys
You can manage your registered keys by renaming or deleting them using the corresponding buttons in the Security Keys section.
This process simplifies user authentication while ensuring security through FIDO key integration on the Hideez Enterprise Server.
Last updated